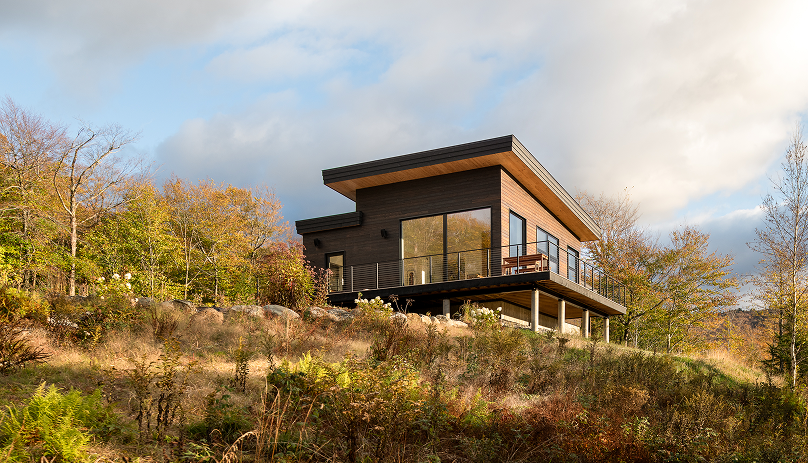
Today I was getting ready to wash my yakisugi privacy wall in a spring cleanup and started noticing how it is weathering. Then I realized this is good content since weathering is one of the most common questions we get asked by our North American customers. I built the wall as a privacy fence around my front yard. It is faced on both sides and has a gabled wood roof cap. Changes since installed three years ago can be categorized as: 1. Blemishes from animal tracks, 2. wood shrinkage and movement, 3. pollen, dirt, and spider webs, and finally, 4. oil finish weathering.
The historic areas of Japan have mostly old, unoiled yakisugi as can be seen in our historical gallery, but the more recent installations are primarily suburban. When touring Japan I have paid more attention to historic installations, focused on wood longevity and unoiled wood. But our customers want to know what more recent examples look like, especially examples under 10 years old and with oil stains applied. Up until 30 years ago 80% of yakisugi installed in Japan was unoiled, and today the converse is true: 80% of yakisugi installed in Japan is prefinished with oil.
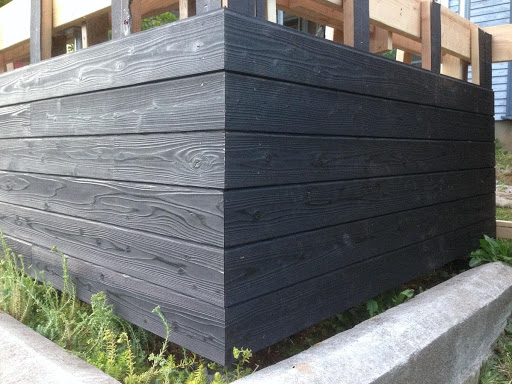
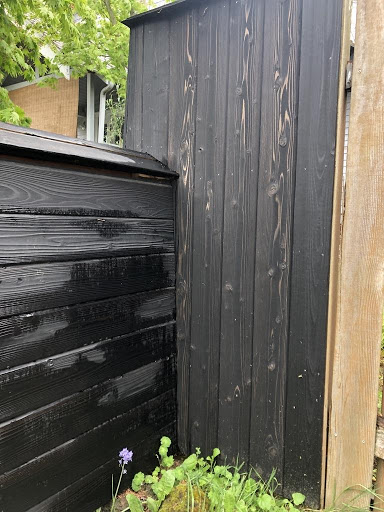
So let’s evaluate my privacy wall after three years of weathering as a case study. Note in the following images that the walls have a 2 degree pitch off vertical so appears a little wonky unless you see the buttress design. The inside of the wall is Suyaki® with two coats of traditional oil finish with one row of Pika-Pika® as a splash, and the outside of the fence as well as the roof are the same Pika-Pika. Additionally, this is a fence with a good-enough-for-government-work grade of install so please do not be too critical.
Here is a picture at about 70% completion showing the structure of steel posts and Douglas fir framing lumber:

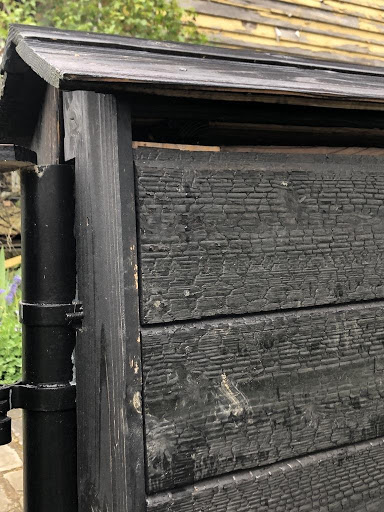
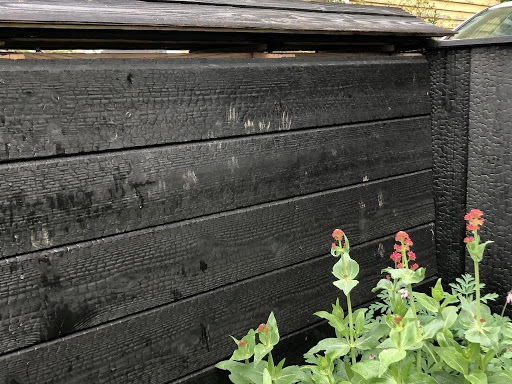
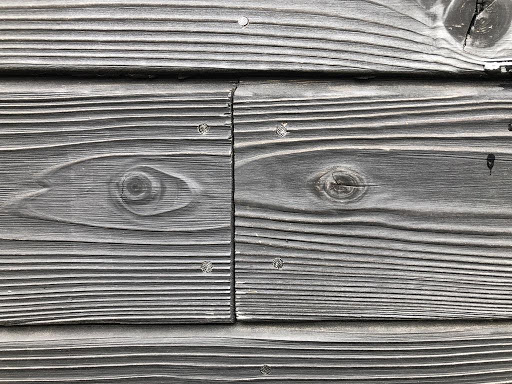
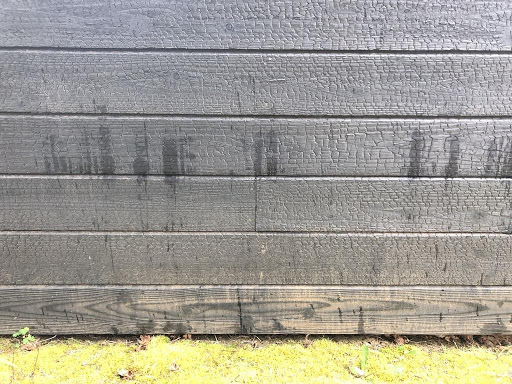
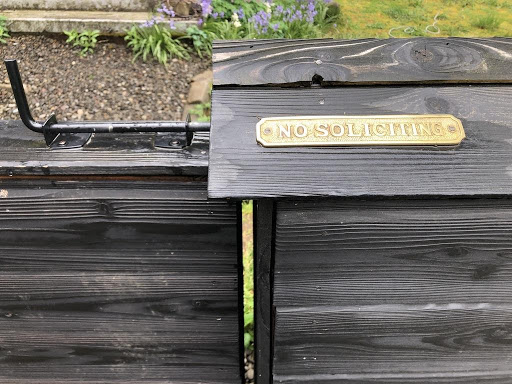
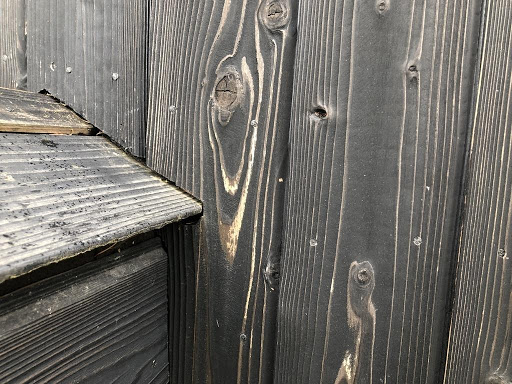
The first thing to notice is that after three years, neighborhood animals have developed trails. There are paw and claw marks all over the wall at locations where cats and squirrels climb and scamper. Siding normally won’t have this many claw marks since a house won’t be scaled the same way as this wall.
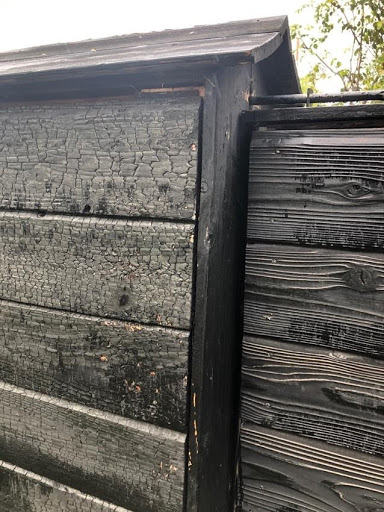
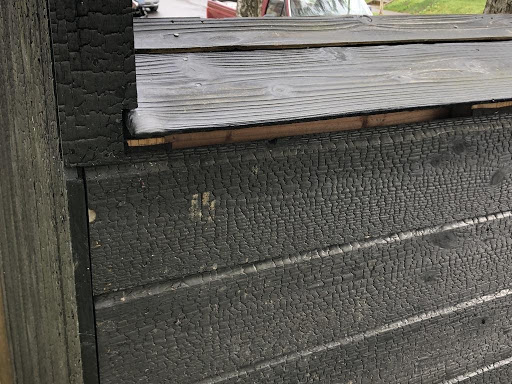
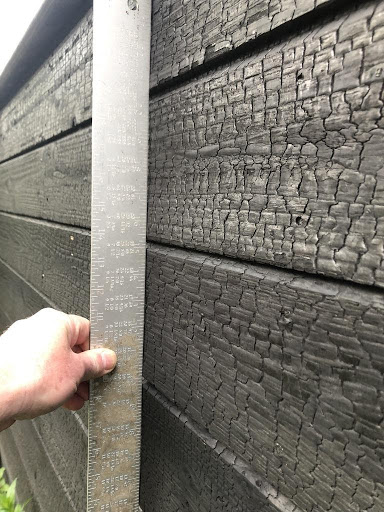
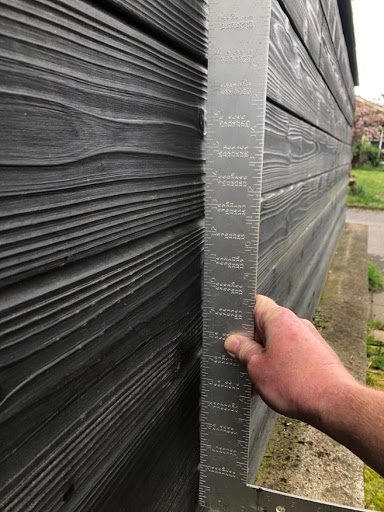
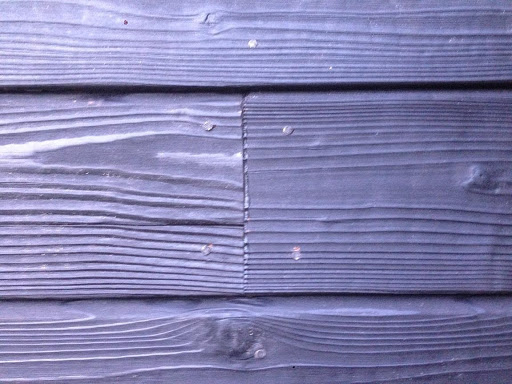
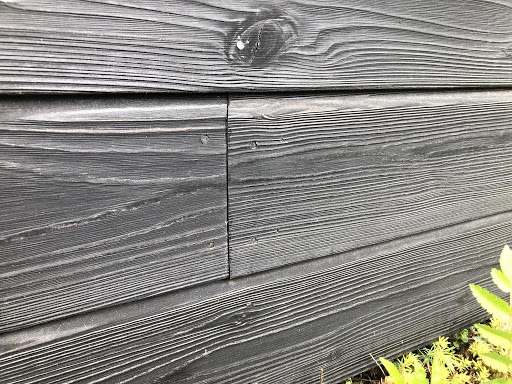
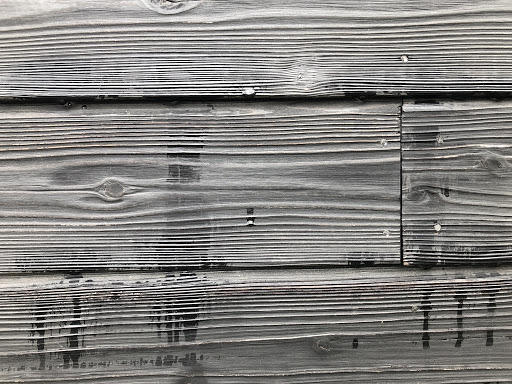
The next change to note is that the framing and cladding have stabilized in terms of moisture content and dimensions. Ideally, after a year or more the installer or owner will come back to beat in nails that were not sunk completely or that have been pulled out by the framing or siding as the wood dried. Scarfs and miters open a little bit and any missed nails or cupped boards can be addressed. Here is what it looks like today, note with more shrinkage on the west elevation. I will probably tighten the nails up at some point in the future, but this is exterior grade carpentry on a fence and I am satisfied with wall straightness. Other projects on my house are higher priority.
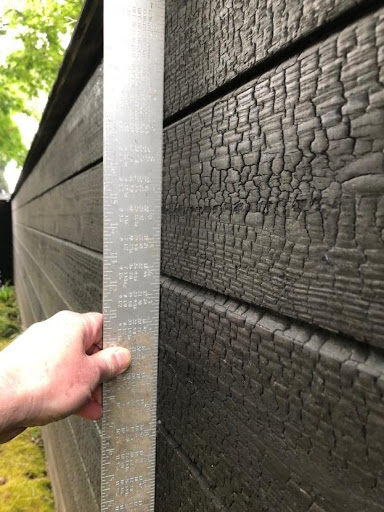
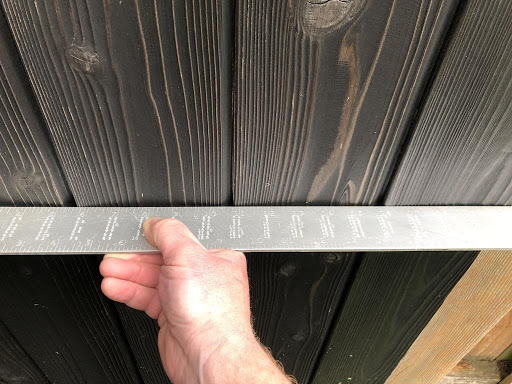
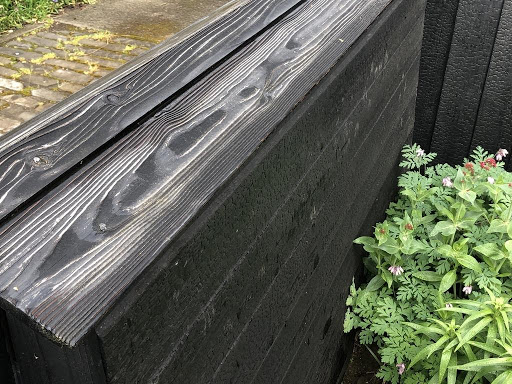
The scarfs and miters were tight to begin with, and have opened up here and there. These could be tightened up. Many planks have shrunk 1/16” in both length and width dimensions. I located the nails a little too far in from the plank edges but cupping is still minimal. The west elevation has moved more probably due to framing and siding exposure to direct sun all afternoon. The wall has stayed flat but here and there are planks that could be tightened up 1/8” or so to the substrate. The roof planks have cupped due to horizontal exposure and since only nailed on the uphill side due to blocking design. The wall looks really good actually.

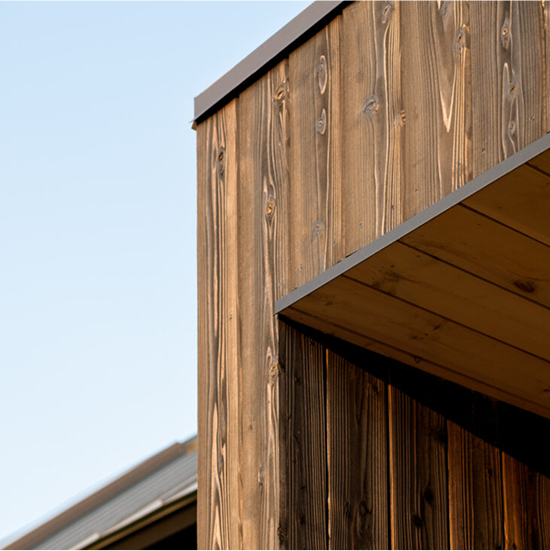
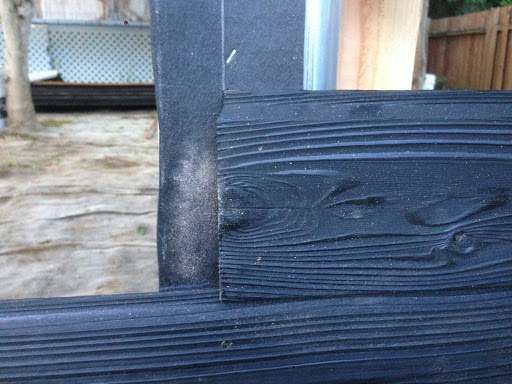
This is what the scarfs and miters looked like at install:
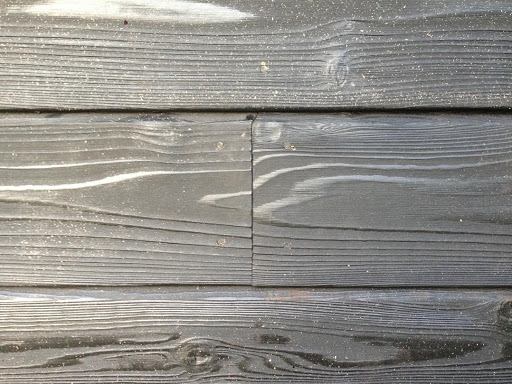
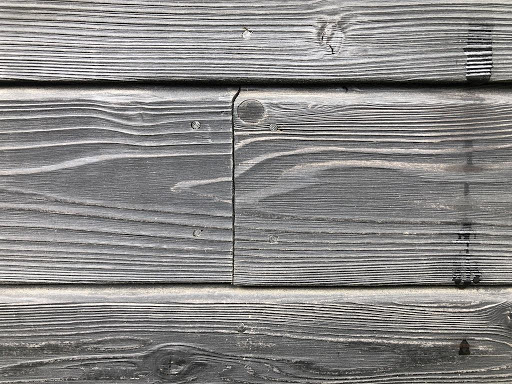
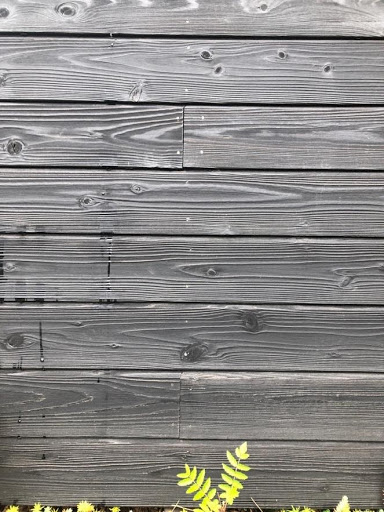
Next thing to notice is how dirty the walls are. I wash them down once or twice a year since pollen, spider webs, bird poop, and mud splash really show up on the monolithic black. Right now is peak pollen season so it really shows up well.
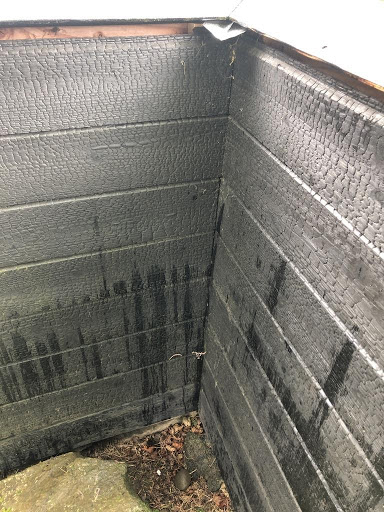
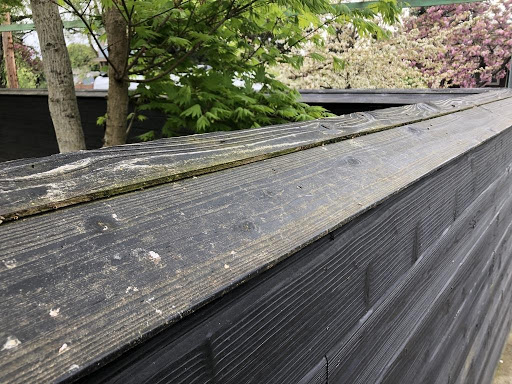
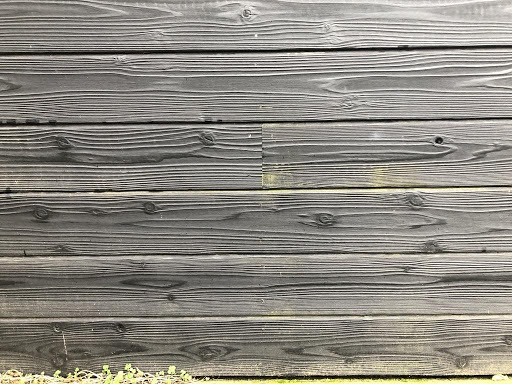
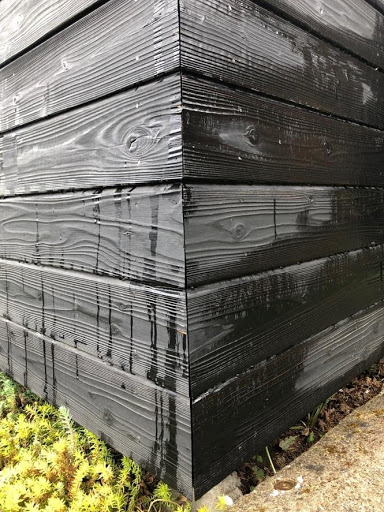
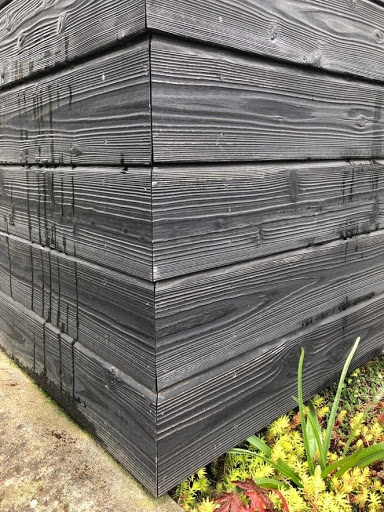
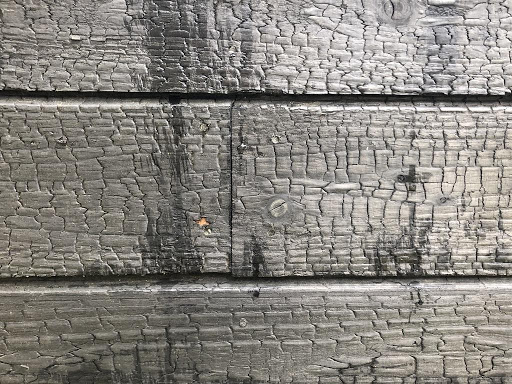
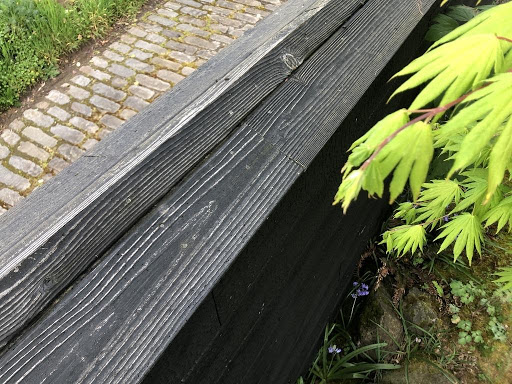
The last noticeable weathering item is how the oil finish is starting to show patina, especially on the roof since a horizontal orientation (I used yakisugi on the roof as an experiment which will share in a future post). The Suyaki side shows no weathering due to the bombproof soot layer and east orientation, and the west and south facing Pika-Pika is starting to show weathering at the bottoms of the walls. There are two north-facing walls, one Suyaki and one Pika-Pika, and both show zero color weathering. The Pika-Pika with alkyd stain is starting to show how the alkyd oil washes off and exposes wood underneath in a pixilated pattern. Miter saw splintering that was not touched up shows silver and painted end cuts blend well.
Note that these images were taken right after a rain so the walls are still somewhat wet. Also since tiny and nuanced it is difficult to see the oil finish starting to weather on the walls, so I’m including roof pics that show accelerated weathering due to being horizontal in orientation. We recommend to our customers to wait at least 5 years before considering re-oiling, and I am following the same guidance. Not sure if I will ever re-oil this wall since I love a patina, but may touch it up locally to freshen the color. I plan to re-oil the roof from time to time and it’s about time.
I really like how the wood is weathering evenly and as expected. There are no surprises except for how visible the animal tracks and pollen are. Wood is so beautiful when freshly installed, and when weathered. Hope that you all find this interesting.